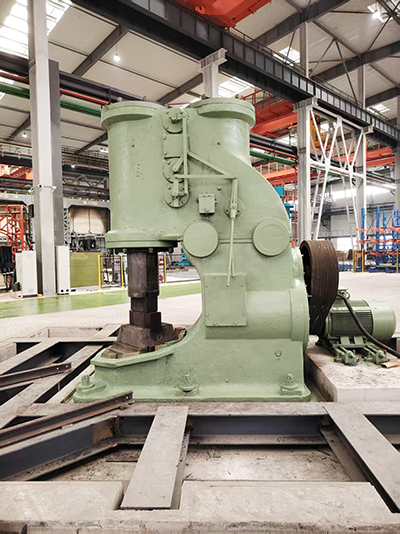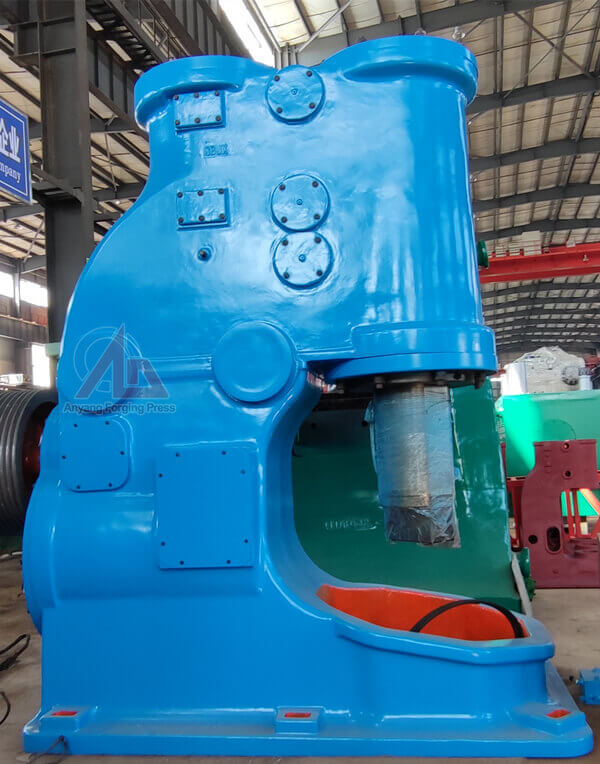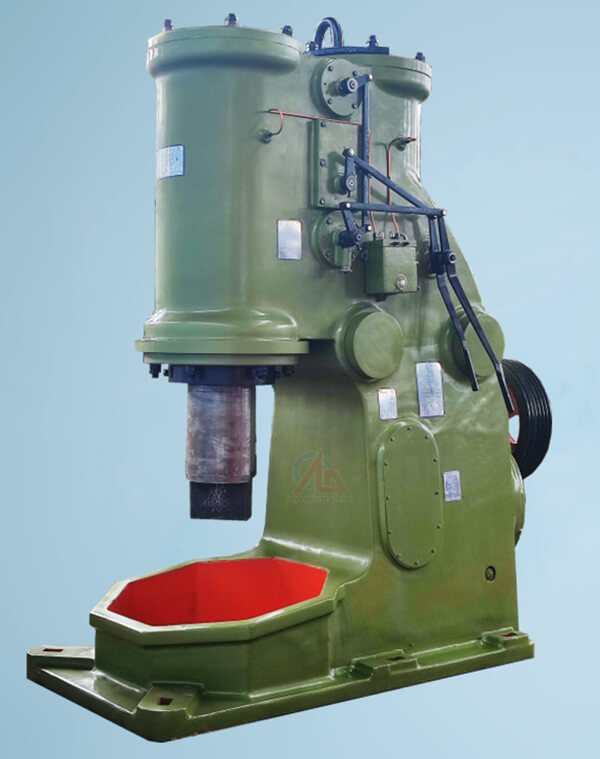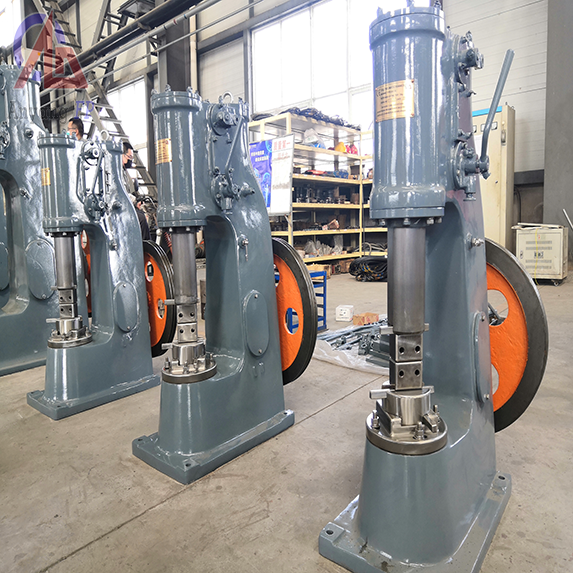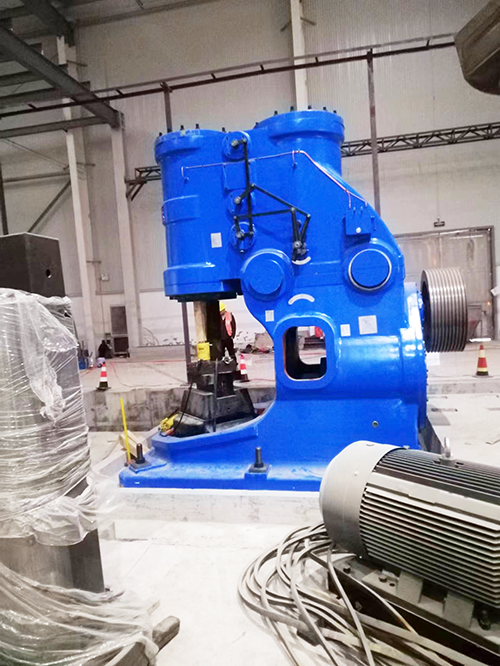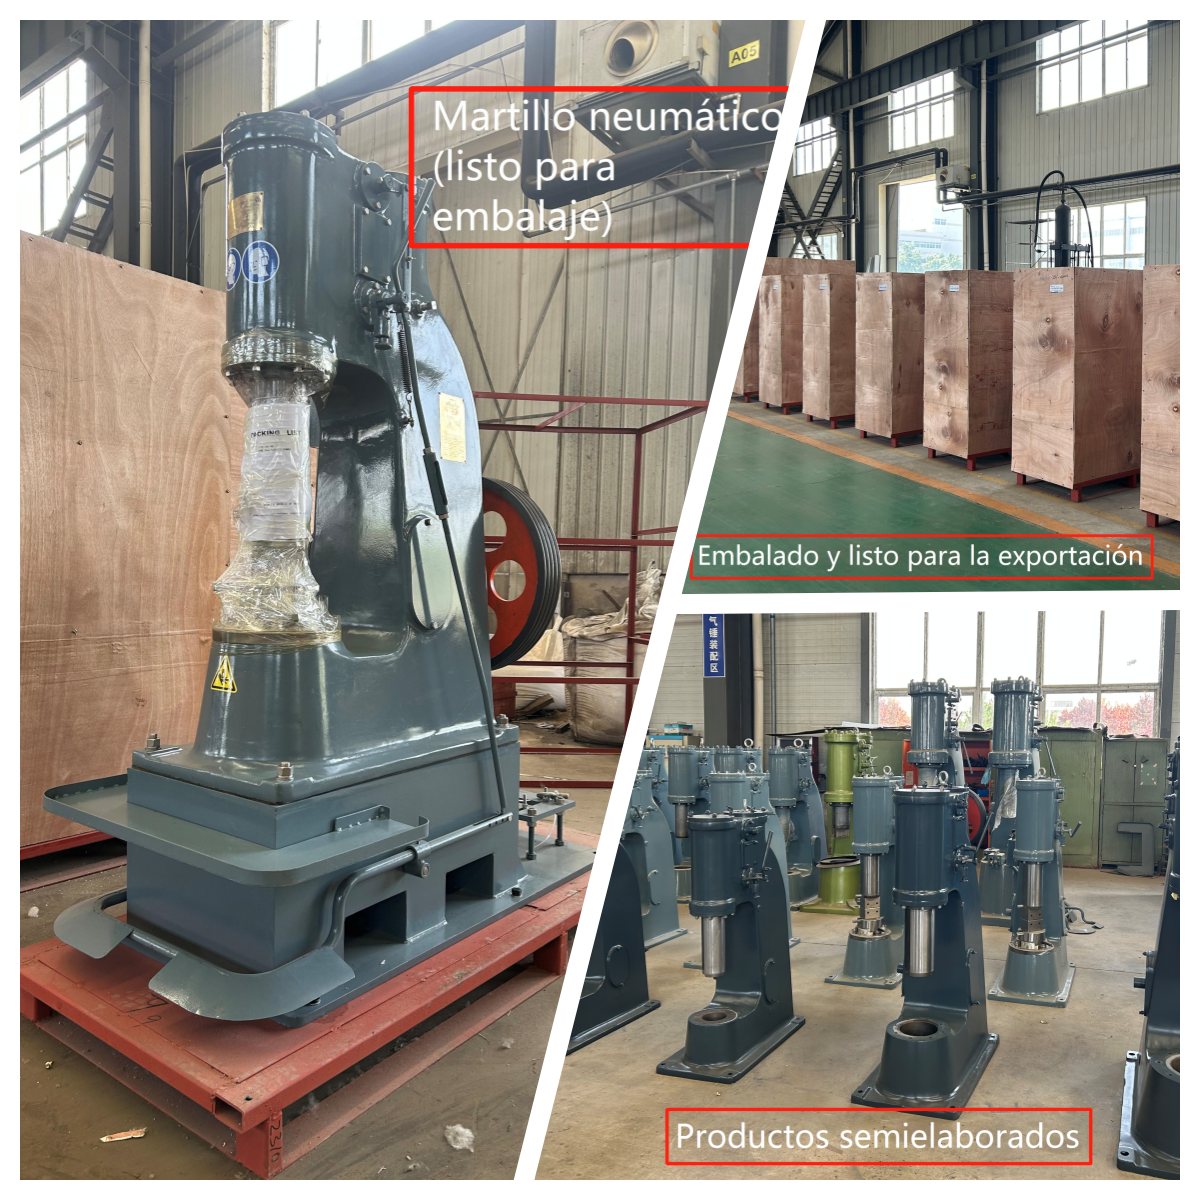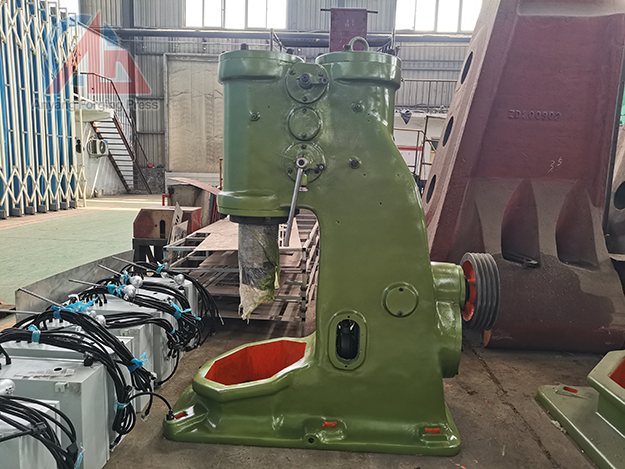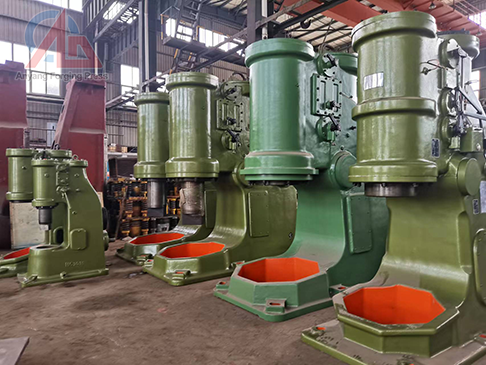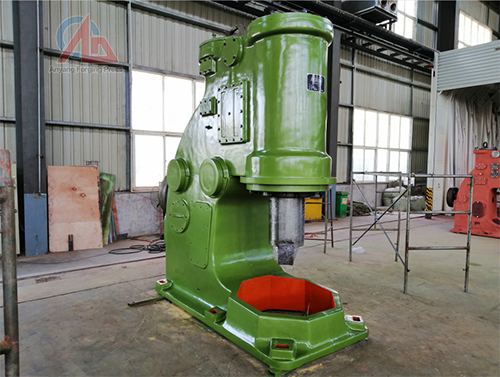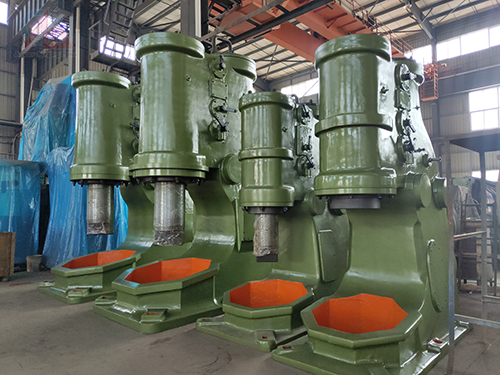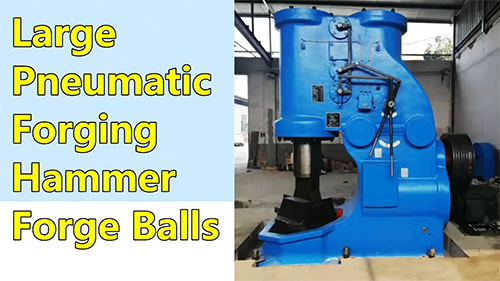
Open Die Foring Pneumatic Power Hammer Machine For Sale China
How to disassemble the Pneumatic Forging Hammer?
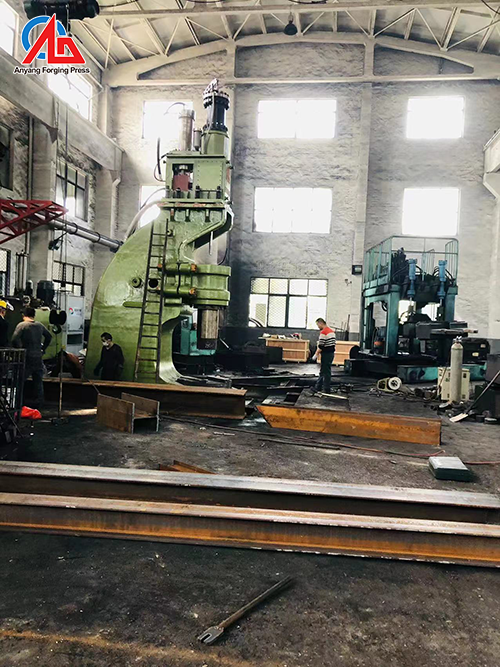
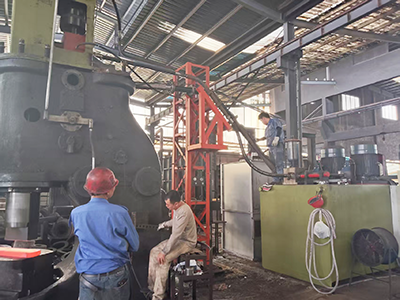
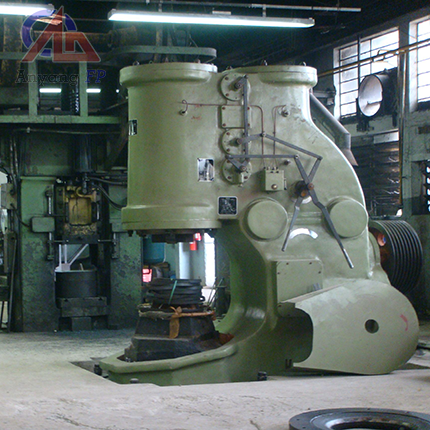
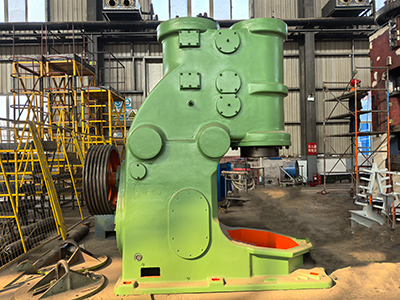
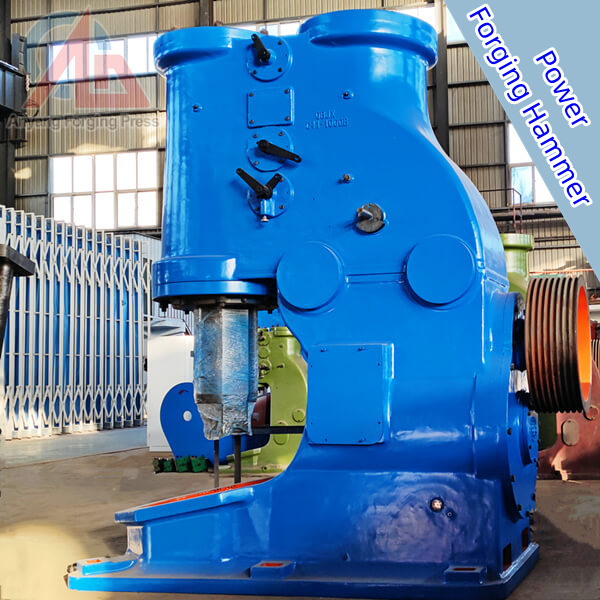
Pneumatic Forging Hammer has the advantages of easy operation, saving production space, low maintenance cost, and quick investment. Therefore, it is the basic forging equipment in the forging industry, and the market has a very large amount. In the process of use, it will inevitably encounter problems such as relocation and machine relocation, or the need to replace the main spare parts. How should the Pneumatic Forging Hammer be disassembled when the air forging hammer is overhauled?
1) Punch out the wedge iron of the upper anvil block, start the air
forging hammer to make the hammer head hang on the upper part, and remove the upper anvil block and the positioning pin. Then use a support rod (metal or wooden rod with a height equal to about three times the height of the anvil block) to support it on the plane of the lower anvil block, and drop the hammer rod.
2) Cut off the power supply, disconnect the power cord of the motor, mark the wire head, and hang the “electrical safety work card” on the distribution box. Remove the pulley cover.
3) Unscrew the oil pipe joint, and disassemble the oil pump and oil pipe.
4) Unscrew the fastening nut of the working cylinder head, screw the lifting ring into the screw hole in the middle of the cylinder head, and lift the upper cover. If there is an imbalance in the process of lifting the upper cover, you can use a hand hammer to hit the upper cover to overcome the problems of skewing and jamming.
5) Align the crane hook with the center of the cylinder, use the lifting ring to lift the hammer rod piston smoothly, and remove the piston ring.
6) Loosen the fastening nut of the lead of the working cylinder (do not remove all of them), place a special dismantling bracket (or square sleeper) under the lead, and fasten it with a wire rope, so that the crane is suspended and removed. Tighten the nut and remove the lead gradually and slowly. In the process of lifting and unloading, if the lead is skewed and stuck, the common skew can be corrected by hitting it with a hand hammer.
7) Take out the leakage blocking ring, the compression spring, and the guide plate in the lead.
8) Remove the upper cover of the compression cylinder. The method is the same as “4”.
9) Remove the hole covers on the left and right sides of the hammer body. Turn the V-belt by hand to rotate the crankshaft, and when the crankshaft (ie, the short shaft on the crankshaft) turns to the left hole, pry it with an iron bar, and remove the left fastening bolt connecting the connecting rod and the crankshaft. Then turn the crankshaft to the right hole, and remove the right tightening bolt connecting the connecting rod and the crankshaft. Finally, pull the V-belt to turn the crankshaft to the upper position, and pry the iron bar to prevent the crankshaft from rotating freely.
10) Screw the lifting ring into the screw hole on the top surface of the compression piston, tie it with a wire rope, and hoist the piston point by point. Be careful not to collide the lower end of the connecting rod with the lower end of the lead. Remove the piston ring, punch out the connecting rod pin, and remove the connecting rod.
At this time, the iron bar that prys the crankshaft can be removed.
11) Unscrew the screws that fix the lead on both sides of the outside of the compression cylinder (or pull out the taper pin for positioning). Hold the lead with a special sling for dismantling the lead (or use a short square sleeper whose length is less than the diameter of the lower part of the compression cylinder), fasten the wire rope, and slowly lift the lead out with a crane. Then take out the leakage blocking ring and the compression spring.
12) Remove the motor and the V-belt.
13) Use the crane to hang the large V-belt pulley (remember not to lift it too tightly), and pull the pulley down with “pull force”. If the pulley and the shaft are too tight (rusted), a pull rod can be set and the pulley can be pulled out with a jack.
14) To remove the pinion shaft in the reduction box, also hang it with a crane and unload it slowly.
15) When removing the rear end cover of the reduction box, when taking out the large gear shaft (crankshaft), you must pay attention to the fixing screws of the inner end cover and remove them all. In the process of hoisting the large shaft, attention should also be paid to the balance of the large shaft and the direction and position of the crankshaft in order to lift it out smoothly. Remove the large gear, rolling bearing, connecting rod joint (rotary shaft bearing body).
16) Remove the upper, middle and lower rotary valves and valve sleeves, and then remove the check valve.
17) Remove the lower anvil block and anvil pad, and pull out the wooden wedges around the anvil.
18) Use lifting equipment to lift the hammer body without tilting, the lifting height is 50~100 mm higher than the anchor bolt, and then move the hammer body down. In the process of hoisting the hammer body, when the hammer body rises, a square sleeper is quickly placed under the hammer body, and a sleeper of the same height is also placed at the displaced place.
19) Remove the filling and wooden wedges around the anvil, and then lift the anvil. This lifting job is more difficult than the hammer body. When the anvil is lifted beyond the base plane, two square sleepers should be placed on the lower part of the anvil immediately and quickly, and then slowly shifted and placed on the sleepers.
20) Lift out the skid row in the pit of the anvil. Clean up the slop oil, sediment, iron oxide scale and other dirt on the foundation.
***************************************************************************************************************************************************************
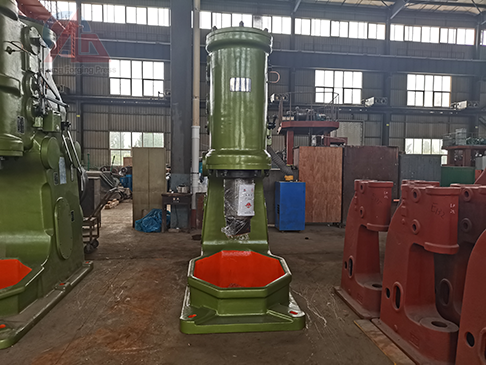
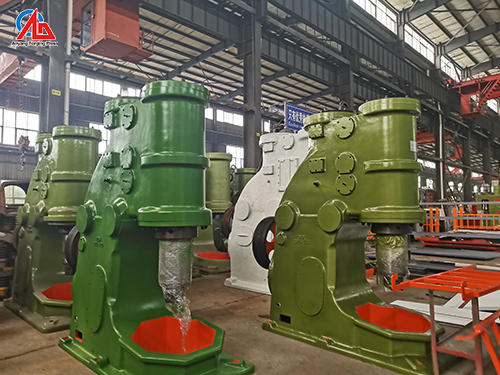
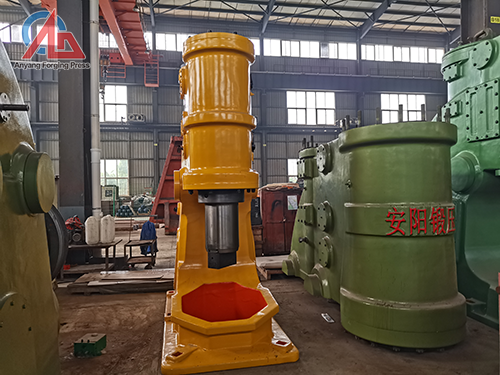
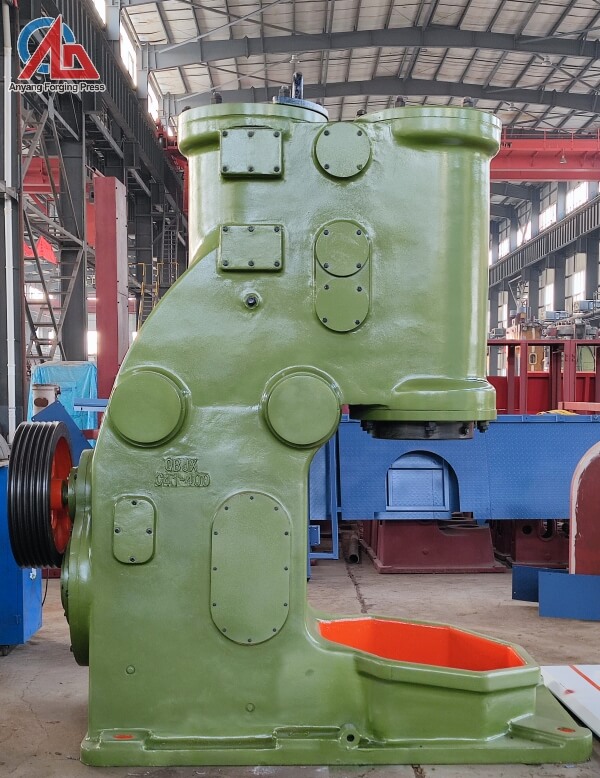
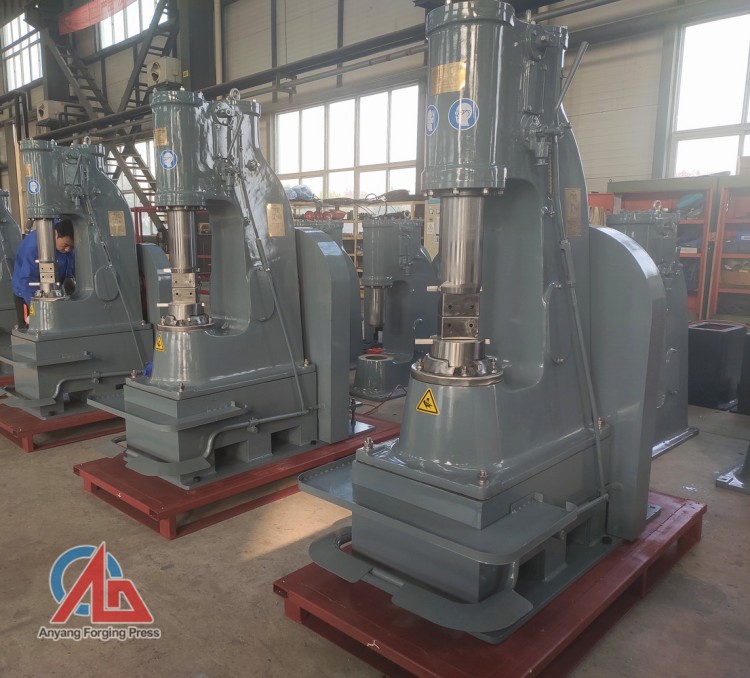
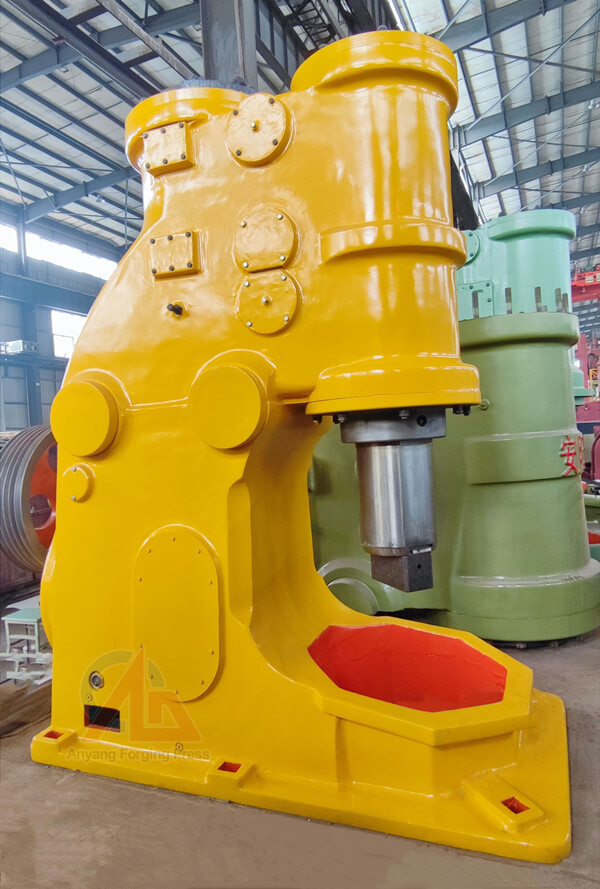
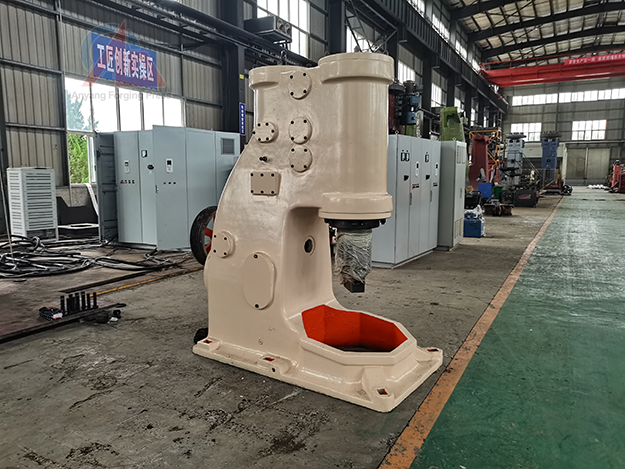
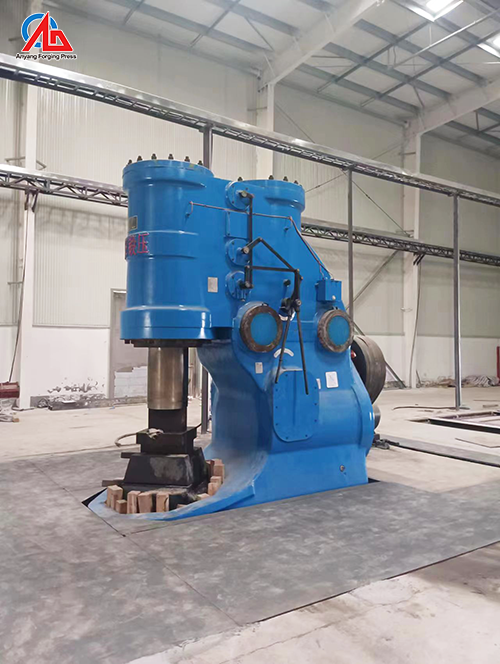
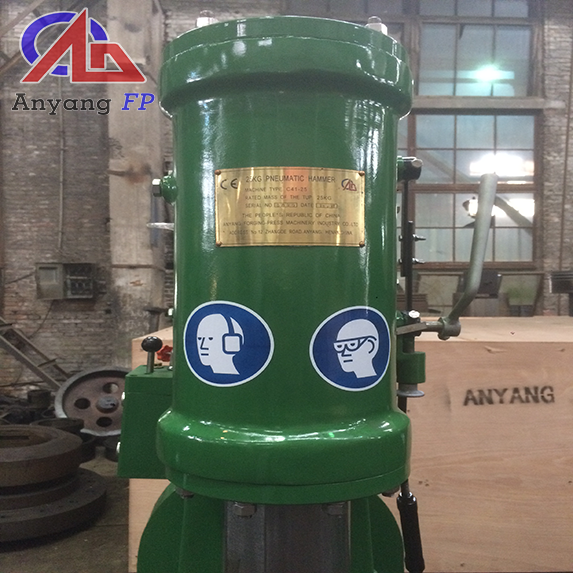
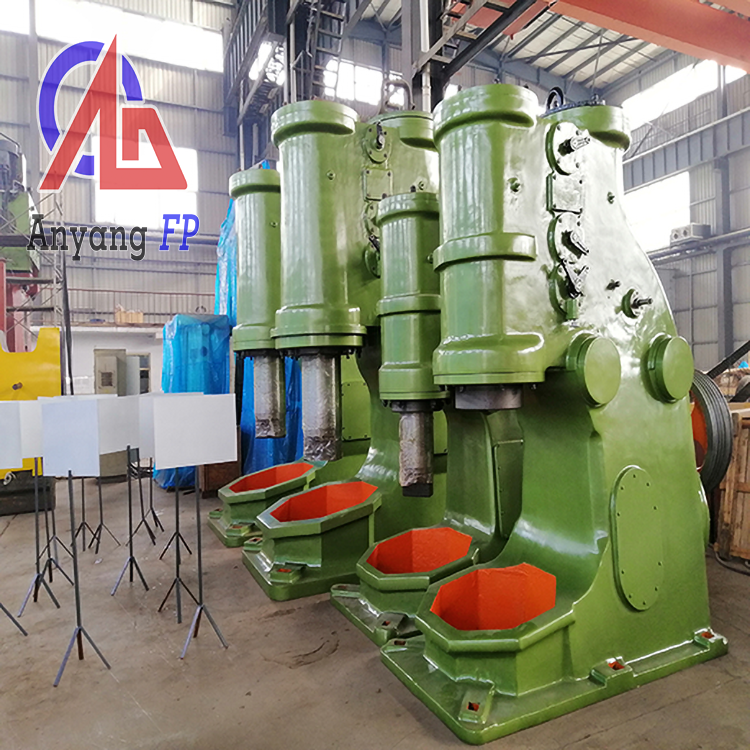
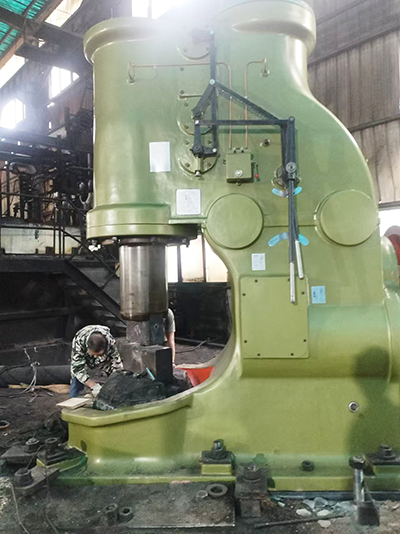
We can provide 9-2000kg Power Forging Hammers / Air Forging Hammer / Pneumatic Forging Hammer.
If you are interested in it, pls contact me.
Felicia
felicia@anyanghammer.com
WhatsApp/WeChat: +86-16692292870